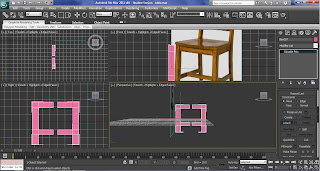
Import the chair reference image and assign it to a plane, create a box for the leg and convert to editable poly. Click polygon selection, swift loop was then selected to create new set of vertices, click extrude setting and highlight the faces that need to be extrude.
Hold down shift and drag, to copy the leg model, select mirror, so the back leg is created, attach and weld was then selected, to join the front and back legs together.
Using the same method of creating the legs, turn on swift loop to create vertices and extrude to create the back and the middle of the chair.
Apply symmetry from the modifier list, click flip. Inside symmetry select mirror, in order to move the symmetry side of the chair closer.
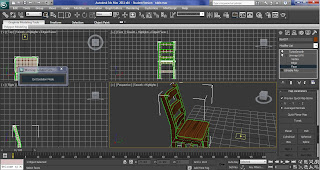
Create a box for the seat, convert the chair to edit poly, and attach the seat with the whole chair. Turbo smooth was then applied, to smooth the chair, to create a smooth result that I want, I have used a new technique call smoothing groups, from the modifier panel, select polygon and highlight the faces that i don't want to smooth, and at the polygon smoothing groups panel, select a number that is different from the faces around it, because only the faces that have the same number will smooth together. After I have change the number of the smoothing groups, at the turbo smooth panel tick smoothing groups, to turn on the result.

For the material I have decided to use a wood material, at the material editor, choose the wood bitmap and assign it to the model. Unwrap UVW was then applied to fix any stretch material, select face to highlight the part which are stretched and use planar, align to fix the problem.
New technique smoothing groups.


No comments:
Post a Comment