Sunday, 23 October 2011

Head and neck


Open up the face.psd file in Photoshop, create a new layer and same as drawing the quads on the front face, use the brush tool with size of 3 px, blue colour, and start drawing the lines on my neck.   


After the blue line is done, switch the size to 2px and red colour. Create a new layer and start to draw out the quads by using the blue line as the guide line and save, this will be updated at 3d max. 


Create a sphere, use the move tool to move the sphere near the top of the head and scale it down to match up with the head shape.  


Apply edit poly to the sphere and use the paint selection to select the polygon I want to delete, which is the side and the left side of the sphere. 


Turn on snap tool and drag the first two top vertices to match up with the face, then on the last vertex turn on soft selection and move the vertex to snap to the face, then turn off soft selection and move the rest of the vertices to match with the face.


Go to edge mode and select each other edge to do so click ring, so it highlight all the edge that is parallel to each other and click collapse, so I have less geometry making it easier to model.


Stay at the edge mode to fill in the gaps at the side, using the reference plates as a guide, hold down shift and drag out new set of polygons, also I need to make sure I have the same amount of vertices at the face.


 Carry on creating polygons for the neck.


Select the face and at the modifier panel, scroll down to attach and attach the sphere to the face and use weld and target weld to weld the sphere to the face. At the front view port start to drag each vertex in or out, so it starts to form the neck shape.

Nose


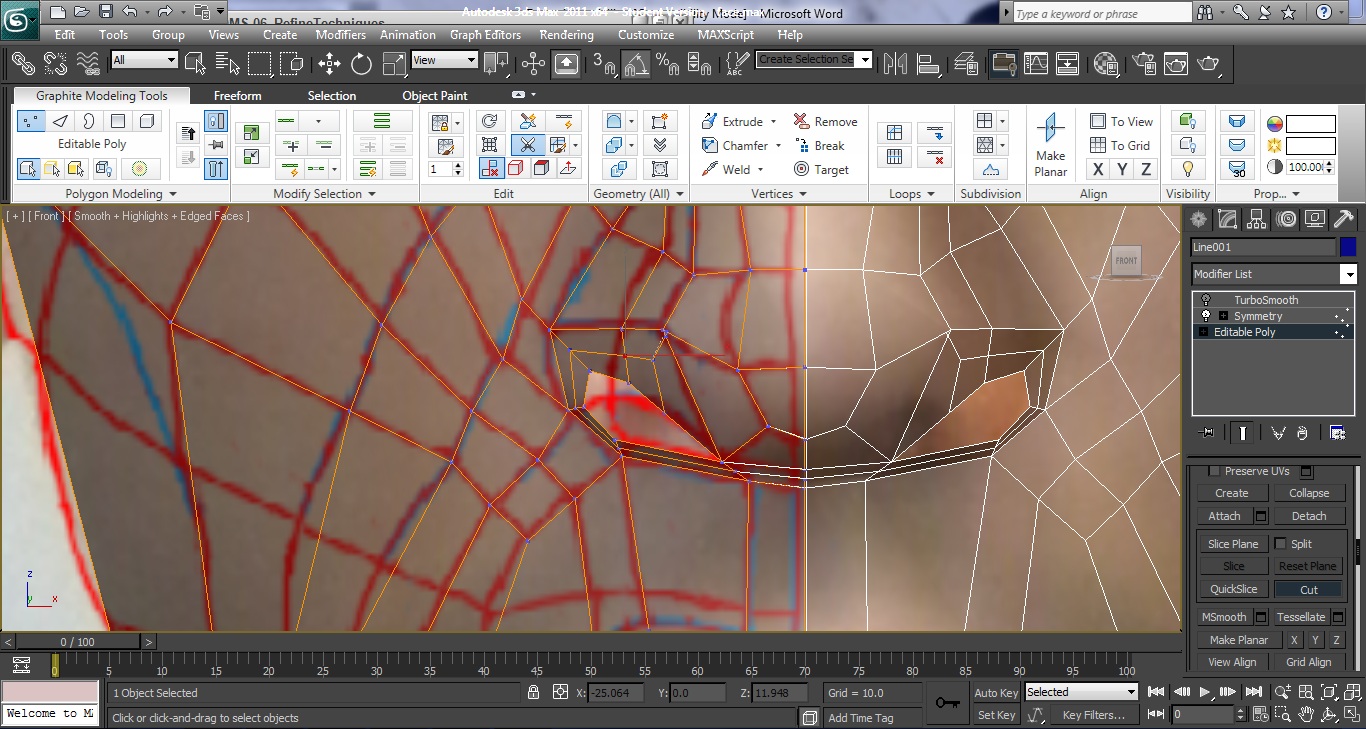
Turn on edge mode and select the outside edges of the nostril, hold down shift and drag out a new set of polygons then use the weld tool to weld the vertices together.


Select the edge mode and select the vertical edges around the nostril, but leave the one near the tip of the nose, at the edit edges panel, select connect setting and create a new set of segments.


Switch to vertex mode and use the cut tool to fix the five sided polygon.


Now I have to join the tip of the nose with the nostril, to do so I need to remove the edge between the tip of the nose and the nostril, select edge and click on the vertical edge that is blocking the path. Press backspace and select the cut tool again then join the vertex to the tip of the nose.


Select polygon, create and start from the middle vertex. Then create two polygons to fill the nostril.


Uses the extrude tool to move the polygon inside the nose.


For the lips I have used the same method as creating the nose, I select edge and click on all the edges at the mouth, choose select and uniform scale, hold down shift and drag out the polygon.


Select all the vertical edges around the lips, select connect setting and create a new set of segments. At the side view moves the new set vertices to match up with the reference plates and move the top vertices inward.


Turn on turbosmooth to see how’s the lips looks.


Again use the same method to create the eye lid and back of the face.


Eyes lids done, turn on turbosmooth to check.


Add the rest of the face by holding down shift and use the move tool to drag out new polygons and use target weld to weld them together.


Turn on turbosmooth to check.