Open up Photoshop and use the brush tool to draw out the detail and quads for the ear, just like the same as drawing the quads on the front face and save.
Go back to 3d max and use the line tool to create the quads.
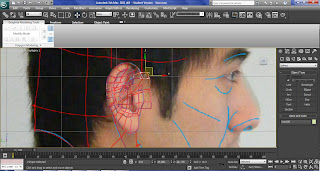
Right click on one of the quads, and convert it to editable poly. At the modify panel, click attach list and select all the lines, then press attach.
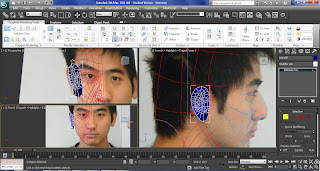
Turn on vertex mode and at the front view use the move tool to start making the depth and detail of the ear.
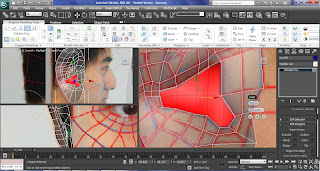
For creating more depth of the ear canal, select polygon and highlight the area near the ear canal , scroll down at the modify panel select insert, ok and push the highlighted polygon inward.
Select the head and turn on polygon mode, highlight the area near the ear and delete them on the head, so the ear can fit on the head.
Select the ear again, press crtl q to
isolate the ear turn on edge mode and highlight one of the top edges of the ear.
Then click loop, hold down shift and drag out new edge and use the scale tool
to scale them inward.
Switch to polygon mode and turn on create,
to start creating new polygon to reduce the ear edges, so it can line up with
the head.
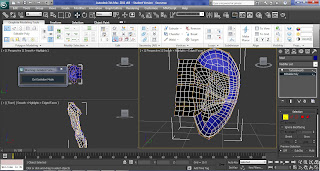
Turn on turbosmooth to check the ear.
I have changed the colour of the ear so I can see better when I attaching and welding the ear to the head.
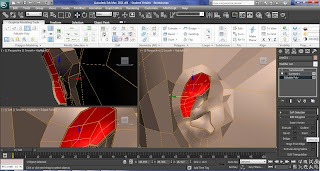
I decided to create more depth to my ear, so I use the same method as creating the ear canal, by using the inset tool, it give me a new set of polygon around the selected area, so I can now use the move tool to push in the highlighted area.
Turn on turbosmooth to check has the ear
welded properly.


No comments:
Post a Comment