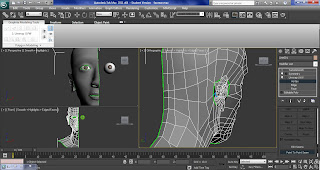
From the modifier list apply unwrap UVW under symmetry, choose spray to highlight all the faces, but not the ear, select cylindrical and align z. Use the scale tool, so the cylindrical can fit around the head. Use the rotate tool to rotate it to -90 degrees and move the green line to match up with the green line from the face.
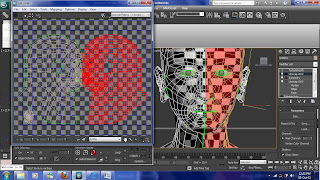
Set up the checker material by opening the material editor, click diffuse none and checker, then assign the checker material to the head. Go back to modifier panel, parameters panels and click edit.
Turn on Filter Selected Faces, click the option button to turn off tile bitmap and turn on constant update. Click select and choose inverted faces, to see how many inverted faces I got, which is the neck, mouth and nose.
As the image has shown, some parts of the faces are stretched too much. To fix this I can use the relax tool, highlight the vertex I need to fix and click tool, relax, then apply. After I have fixed the head area, I still have the neck and the nose to fix, so I use the same technique to fix them, then apply select inverted faces to check I have fixed them all.
Now for the ear, click on the plus sign of the Unwarp UVW, select faces and highlight the ear. At the map parameters, choose planar, align x and fit.

Click point to point seam and draw a line on the ear, then select pelt, to get the edit menu up.
At the edit panel, click on pelt and relax, until the whole ear is flat. Select commit and this will bring up the UVWs edit menu.
In the edit menu, scale the ear size down, so is can fit with the head, then close up to it to see if there any inverted faces and space out some of the faces, by moving the vertex.
Move the ear down to the corner and scale the ear up, so it fits in the space, after that I click on face sub object mod, click select inverted face, and then click overlap face, to check have if I got any faces that are inverted or overlapping.

Turn on symmetry and apply another unwrap UVW on top of symmetry, open the edit menu from the parameters panel and turn on select element and click on the head, once I’ve got the left side of the head, I select mirror and line the faces up as shown above, and use crtl w to weld the two head together, then select the left ear, mirror and move it to the left hand side.
Go to option and set the width to 512, highlight everything and scale them to fit the inside the box, render out none, normal and shaded map, then save it.


No comments:
Post a Comment